3.4. Creating a new project
Follow this quick start guide to create a new Java project in which you can use Metaborg languages.
Choose Create New Project from the welcome dialog, or the File → New → Project… menu item, to open the New Project dialog.
Select the Java project type.
Check the Metaborg framework.
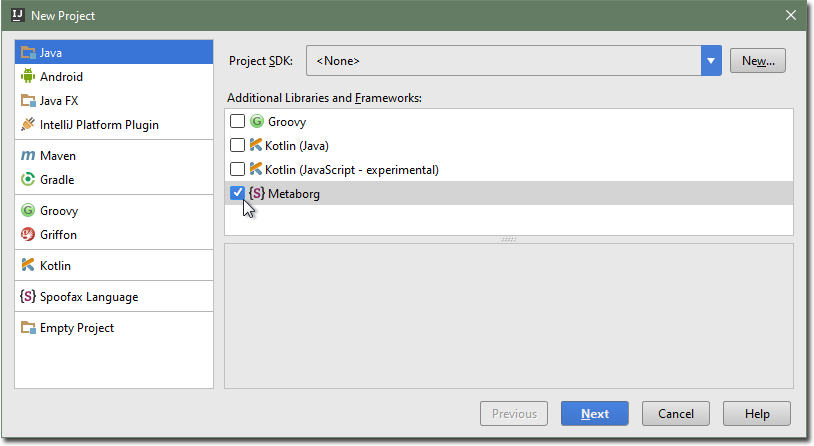 "New Project" dialog
Select the Metaborg SDK as the project’s SDK.
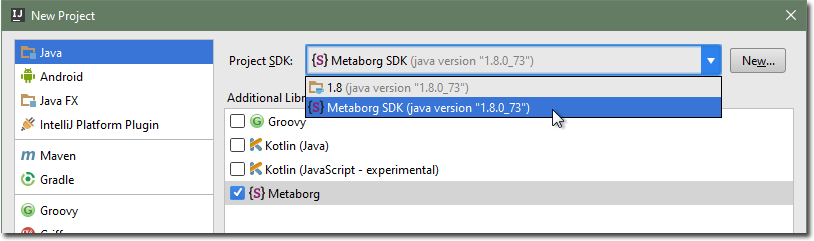 Select the "Metaborg SDK"
Note
If the Project SDK displays <None> and you can’t select the Metaborg SDK, then you need to add it first.
Click the New… button next to the Project SDK field.
Select Metaborg SDK.
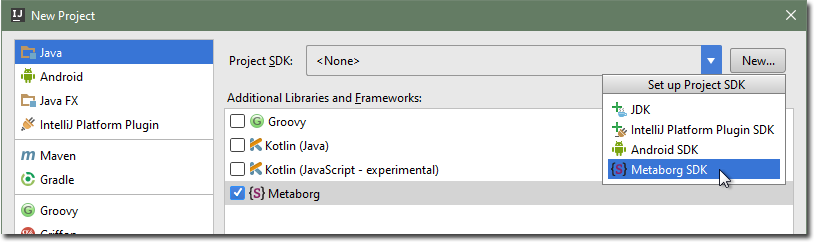
You may get a warning if you have no Java JDK configured. Click OK and configure the JDK’s home location. The suggested home directory is usually correct. Click OK.
Select a home directory for the Metaborg SDK. The default is the Spoofax plugin’s
lib/folder, which is sufficient as it contains all the core dependencies.Click OK.
Click Next.
Pick a project name and location, and click Finish.
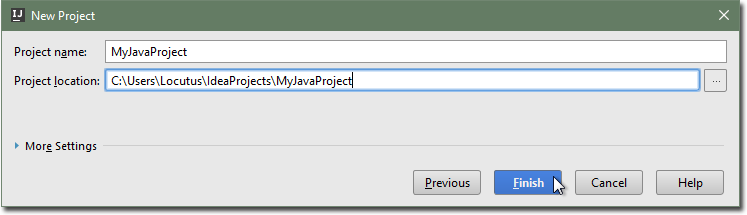 Pick a project name
The created Java project will have the Metaborg facet, indicating that the
project uses Metaborg languages. It will also have a metaborg.yaml file, which
specifies the language dependencies of the project.